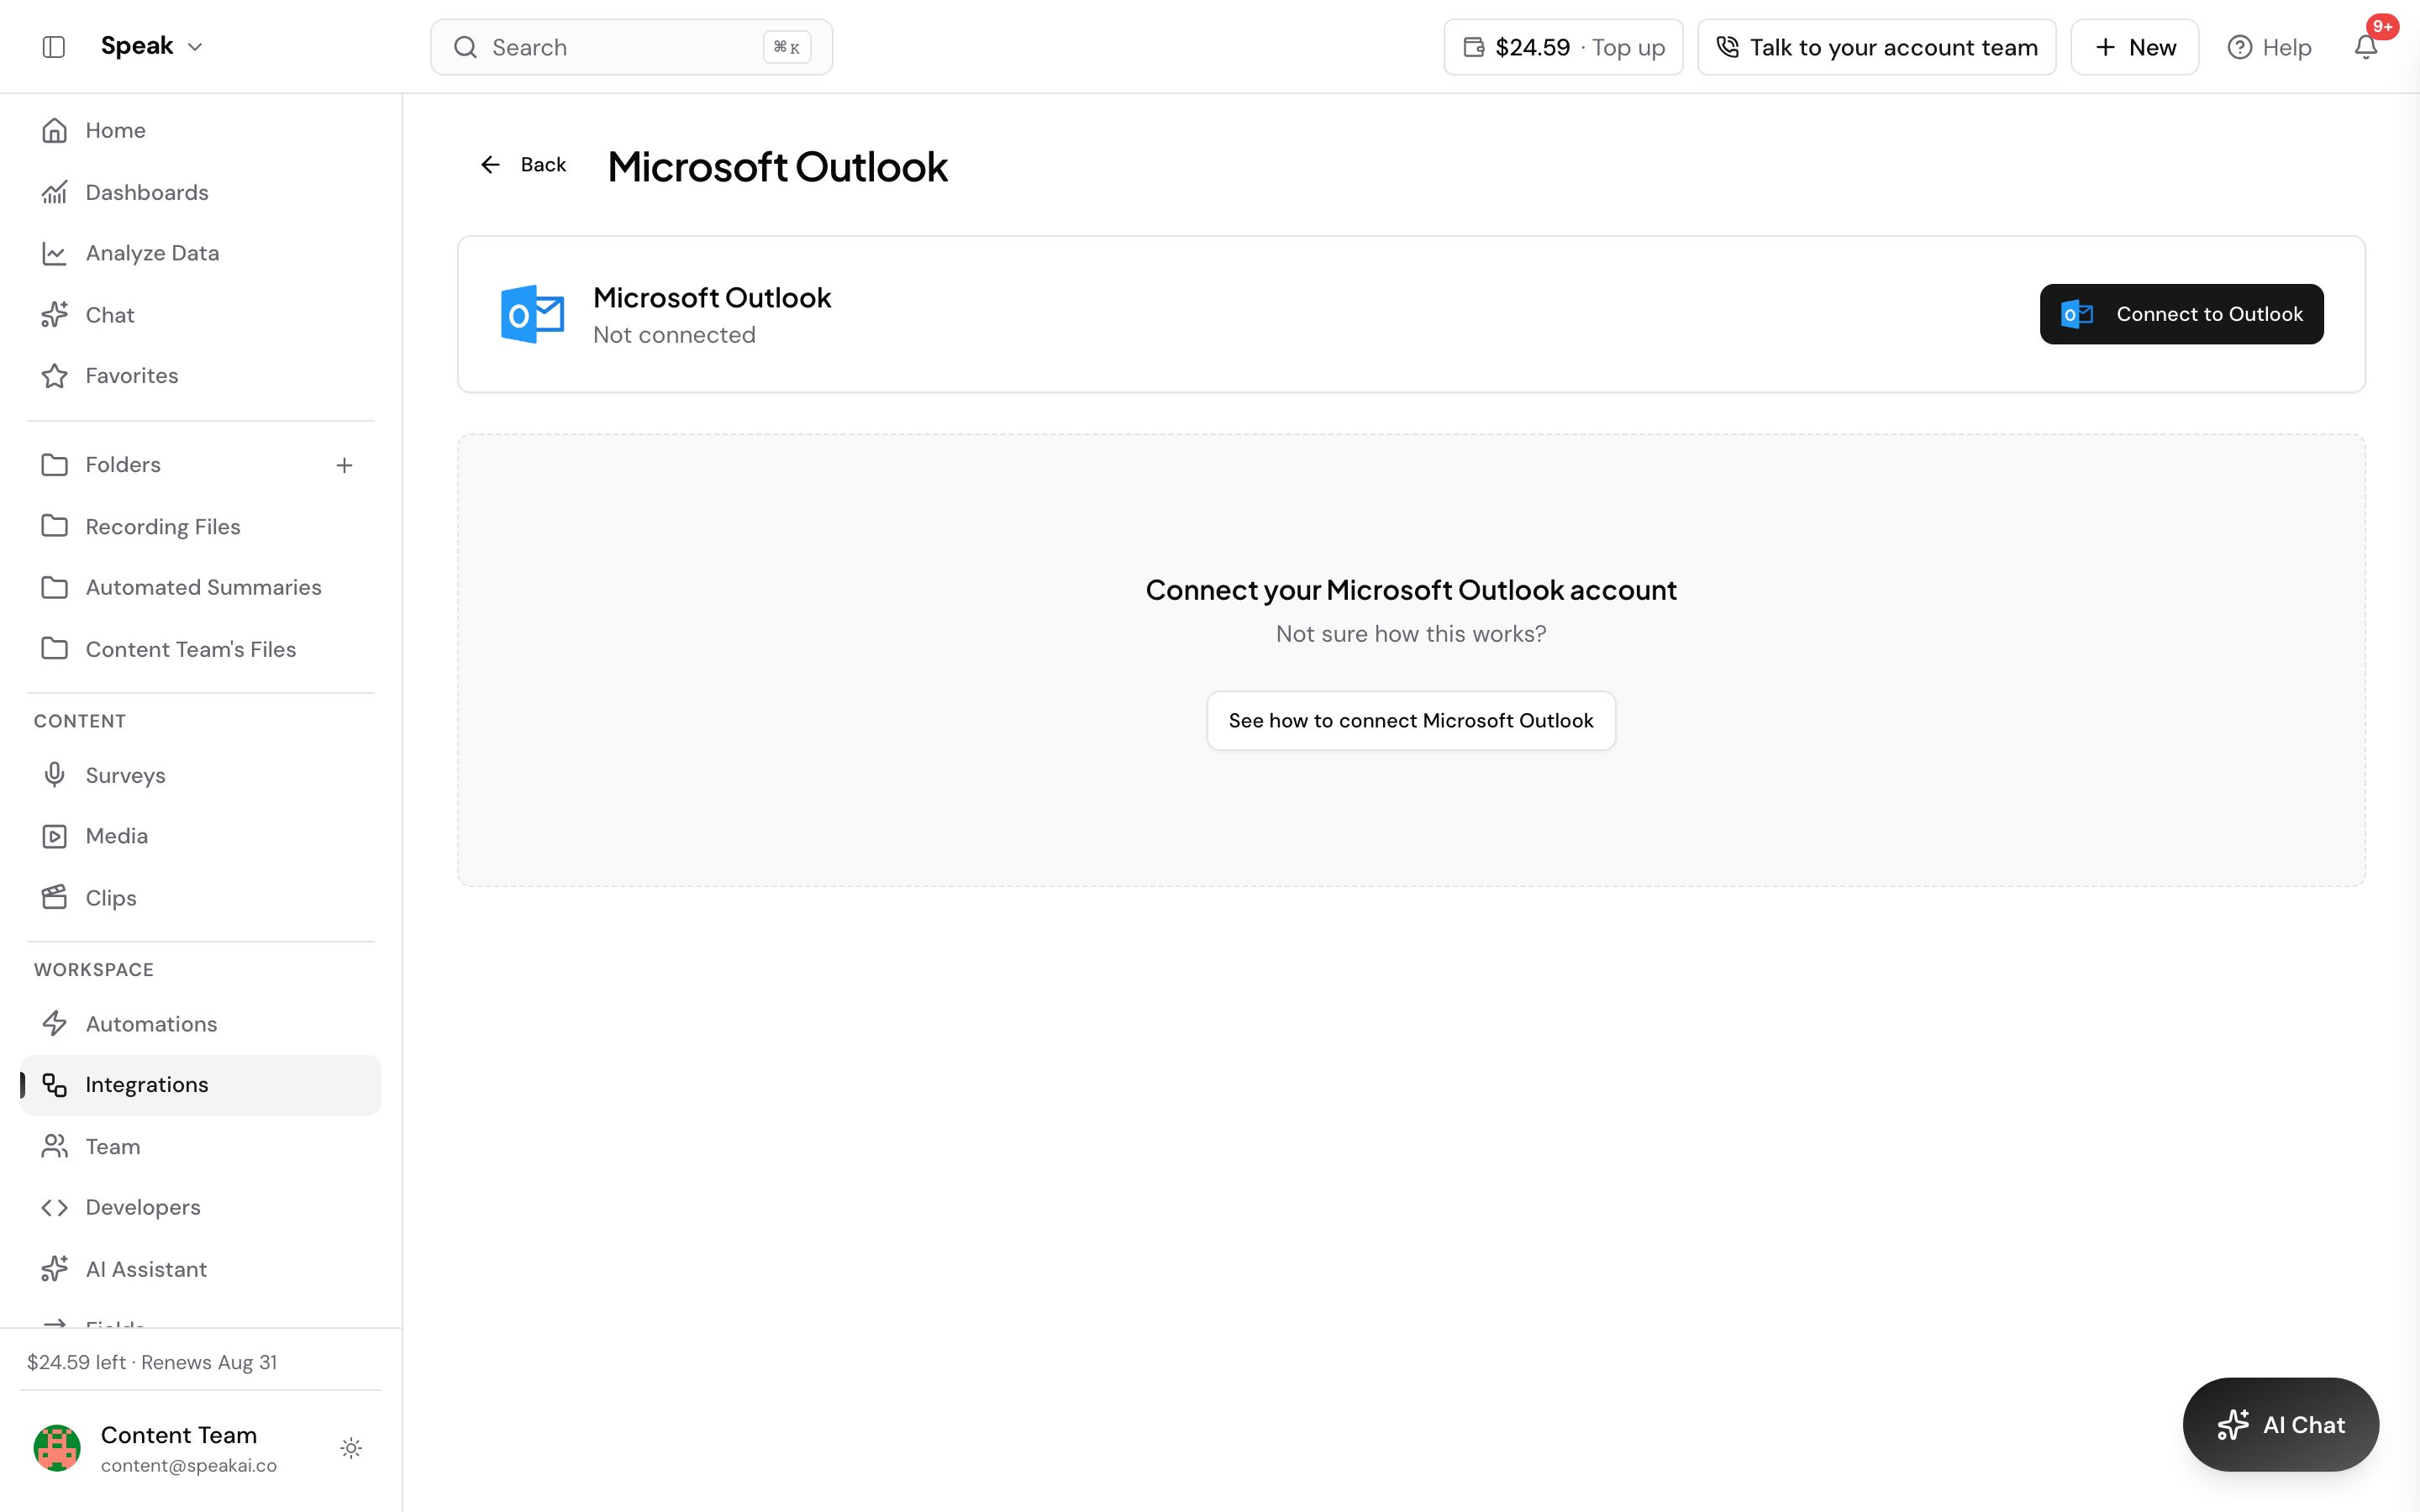
Step 1: Start the Connection
- Open the Meeting Assistant page and select Connect to Outlook.
Step 2: Grant the Required Permissions
- When prompted, review and accept the following permissions to enable full calendar integration:
- Calendars.Read: View your calendars and events.
- offline_access: Maintain access even when you’re not actively using the app (so your events keep syncing).
- (Optional, if your workflow needs email or user profile access):
- User.Read: View your basic profile.
- Mail.Read: View your email messages.
- Note: If you do not provide all the required permissions, your calendar events will not sync fully.
- If your an organization then ask your admin to approve the Speak AI Inc application
Step 3: Fetching Your Events And Scheduling Meeting Assistants
- Once permissions are granted, your events will be automatically fetched and displayed.
- Meeting Assistants will be scheduled automatically
Troubleshooting: If You Cannot Approve Permissions
- If you see a message stating that you cannot grant the needed permissions:
- Your organization’s admin may need to approve or whitelist the application (Speak AI Inc) within your Microsoft/Azure portal.
- Please contact your IT administrator and provide them with the application details so they can enable access for your account.
Tip: For admins/IT teams, ensure “Speak AI Inc” is allowed under Azure Active Directory > Enterprise Applications, and that the above permissions are approved for user consent.
Please contact support for any questions
Want a hand setting this up? Book a free consult and we’ll do it together on your account.
Related: Meeting Assistant · Auto-join