The player you embed on your site carries your colors, fonts, and logo, and you can control what it shows and how it starts. Branding is set once in the dashboard and applies to your embeds. Playback behavior is set per embed with URL parameters.
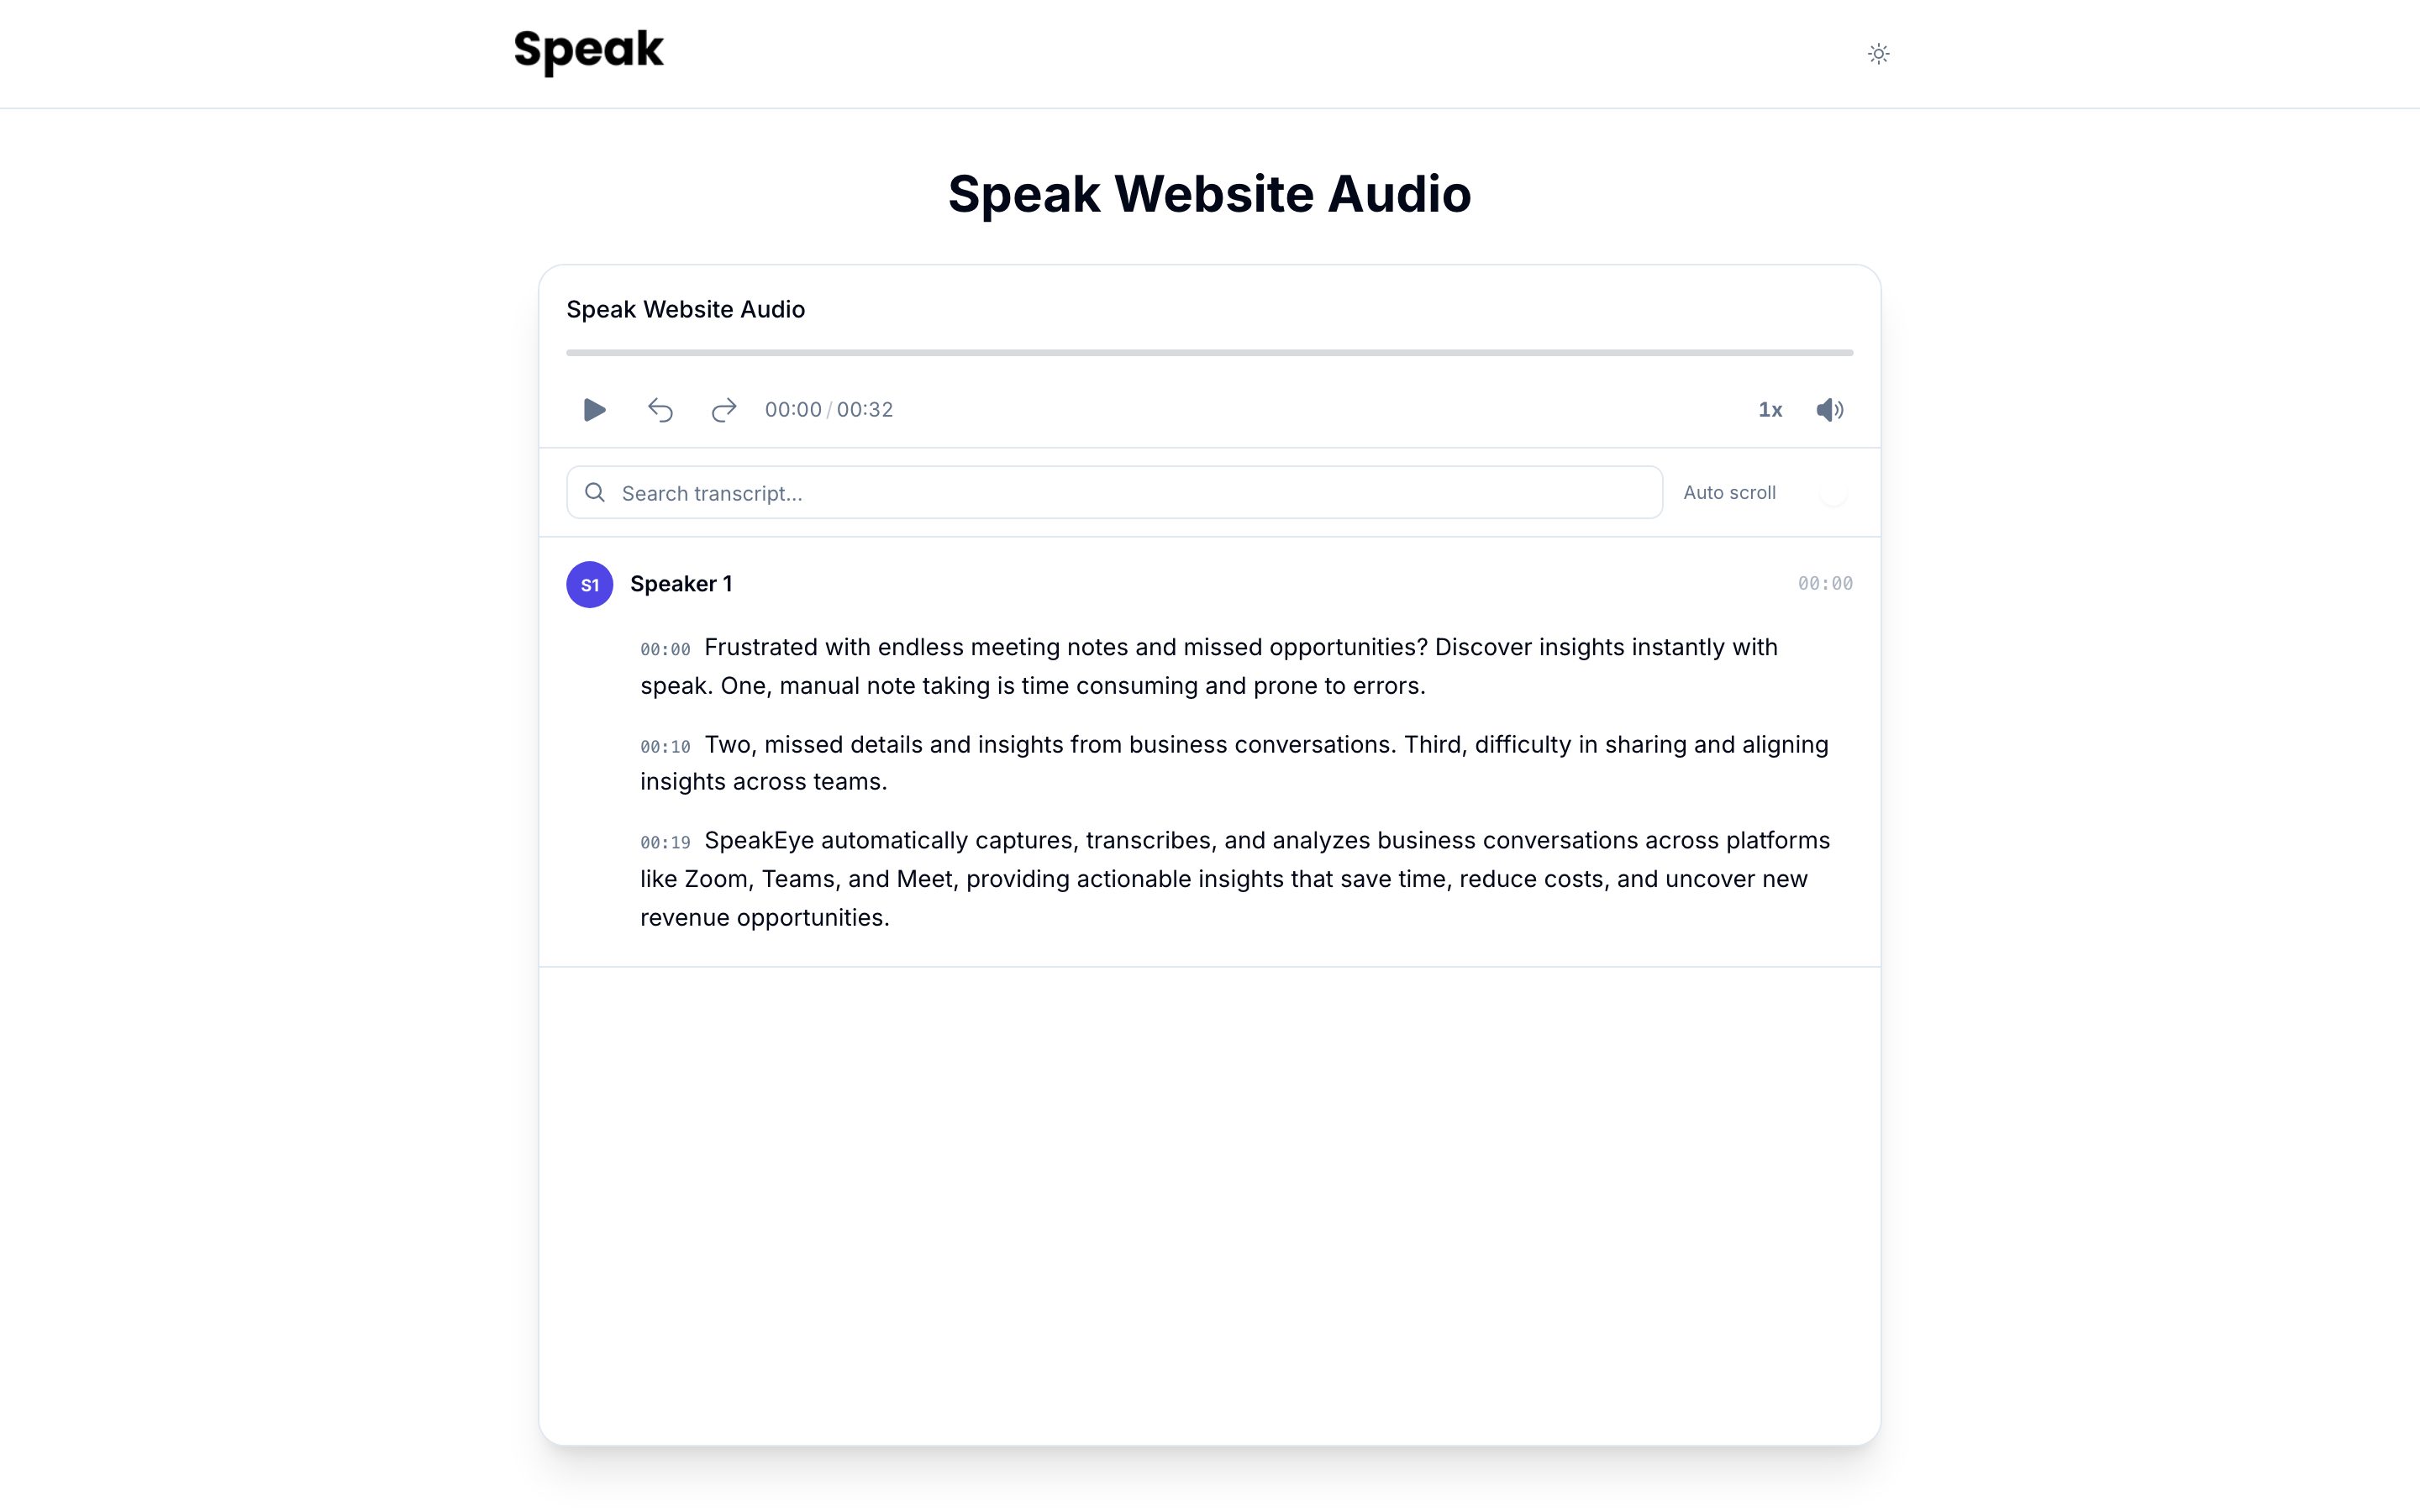
Brand the player
Open Shared Media → Settings → Branding & Customization and set:
- Primary color for buttons and highlights, and the font color
- Theme, either light or dark as the base
- Font family, chosen from the available fonts, so the player matches your site
- Logo and background image, uploaded from your own files
- Waveform, hidden if you want a plainer player
- Title and description, hidden if the surrounding page already says what the recording is
- Insights, ticked one by one to choose which appear next to the recording
- Downloads, allowing viewers to download your data visualizations
- Search engine indexing, allowing the shared page to be indexed
- Call to action, a button that sends viewers where you want them to go next
Click Save when you are done. Changes apply to your embedded players.
Viewers can also switch the player between light and dark themselves. The shared page carries a theme toggle in its header, next to your logo. An iframe embed does not show that header, so it has no toggle.
Custom CSS
For control past those settings, use the Custom CSS field in the same settings screen. Enter standard CSS to override specific styles:
.sp-recorder-btn {
    border-radius: 20px;
    font-weight: bold;
}
The player updates as you type.
Set the starting state with URL parameters
Append parameters to the embed URL to control how the player loads:
?autoplay=truestarts playback automatically, if the browser allows it?t=120starts playback at a set time in seconds, here two minutes?hideWaveform=truehides the waveform
Layout parameters no longer apply
The player sets its own layout and fits the width of the iframe or page it sits in, so there is nothing to size by hand. The isHorizontal, playerWidth and transcriptWidth parameters are no longer supported.
If an existing embed URL still carries them, the player ignores them and lays itself out as normal. Nothing breaks, and you can drop them from the src on your iframe whenever it is convenient.
What do viewers see while a recording is still being transcribed?
The player streams the transcript into the page as it is written, so a viewer opening the link during a live recording reads along rather than waiting for the file to finish. The panel shows the connection state and a running segment count above the text.
Two controls sit in that live view:
- Copy transcript copies the text to the clipboard. Open its options to turn Include speakers and Include timestamps on or off, and the choice is remembered for next time.
- Translate opens a language list. Pick one and choose Start, and the transcript splits into two columns: Original on the left and the language you picked on the right. Each column carries its own copy button, so a viewer can take either one on its own. Stop translation returns the panel to a single column.
The translated column fills in as sentences are translated, and reads “Waiting for translation…” until the first one arrives. When a recording holds more than one spoken language, each paragraph carries a badge naming the language it was spoken in, so a bilingual call stays readable. A recording in a single language shows no badges.
React to player events
The embed sends messages to the page around it using the browser postMessage API, so you can pause, play, or react from your own code:
readyfires when the player has finished loadingfinishfires when playback has completed
If your security policies block these messages, add your domain to the allowed list in the recorder settings.
Want a hand setting this up? Book a free consult and we’ll do it together on your account.