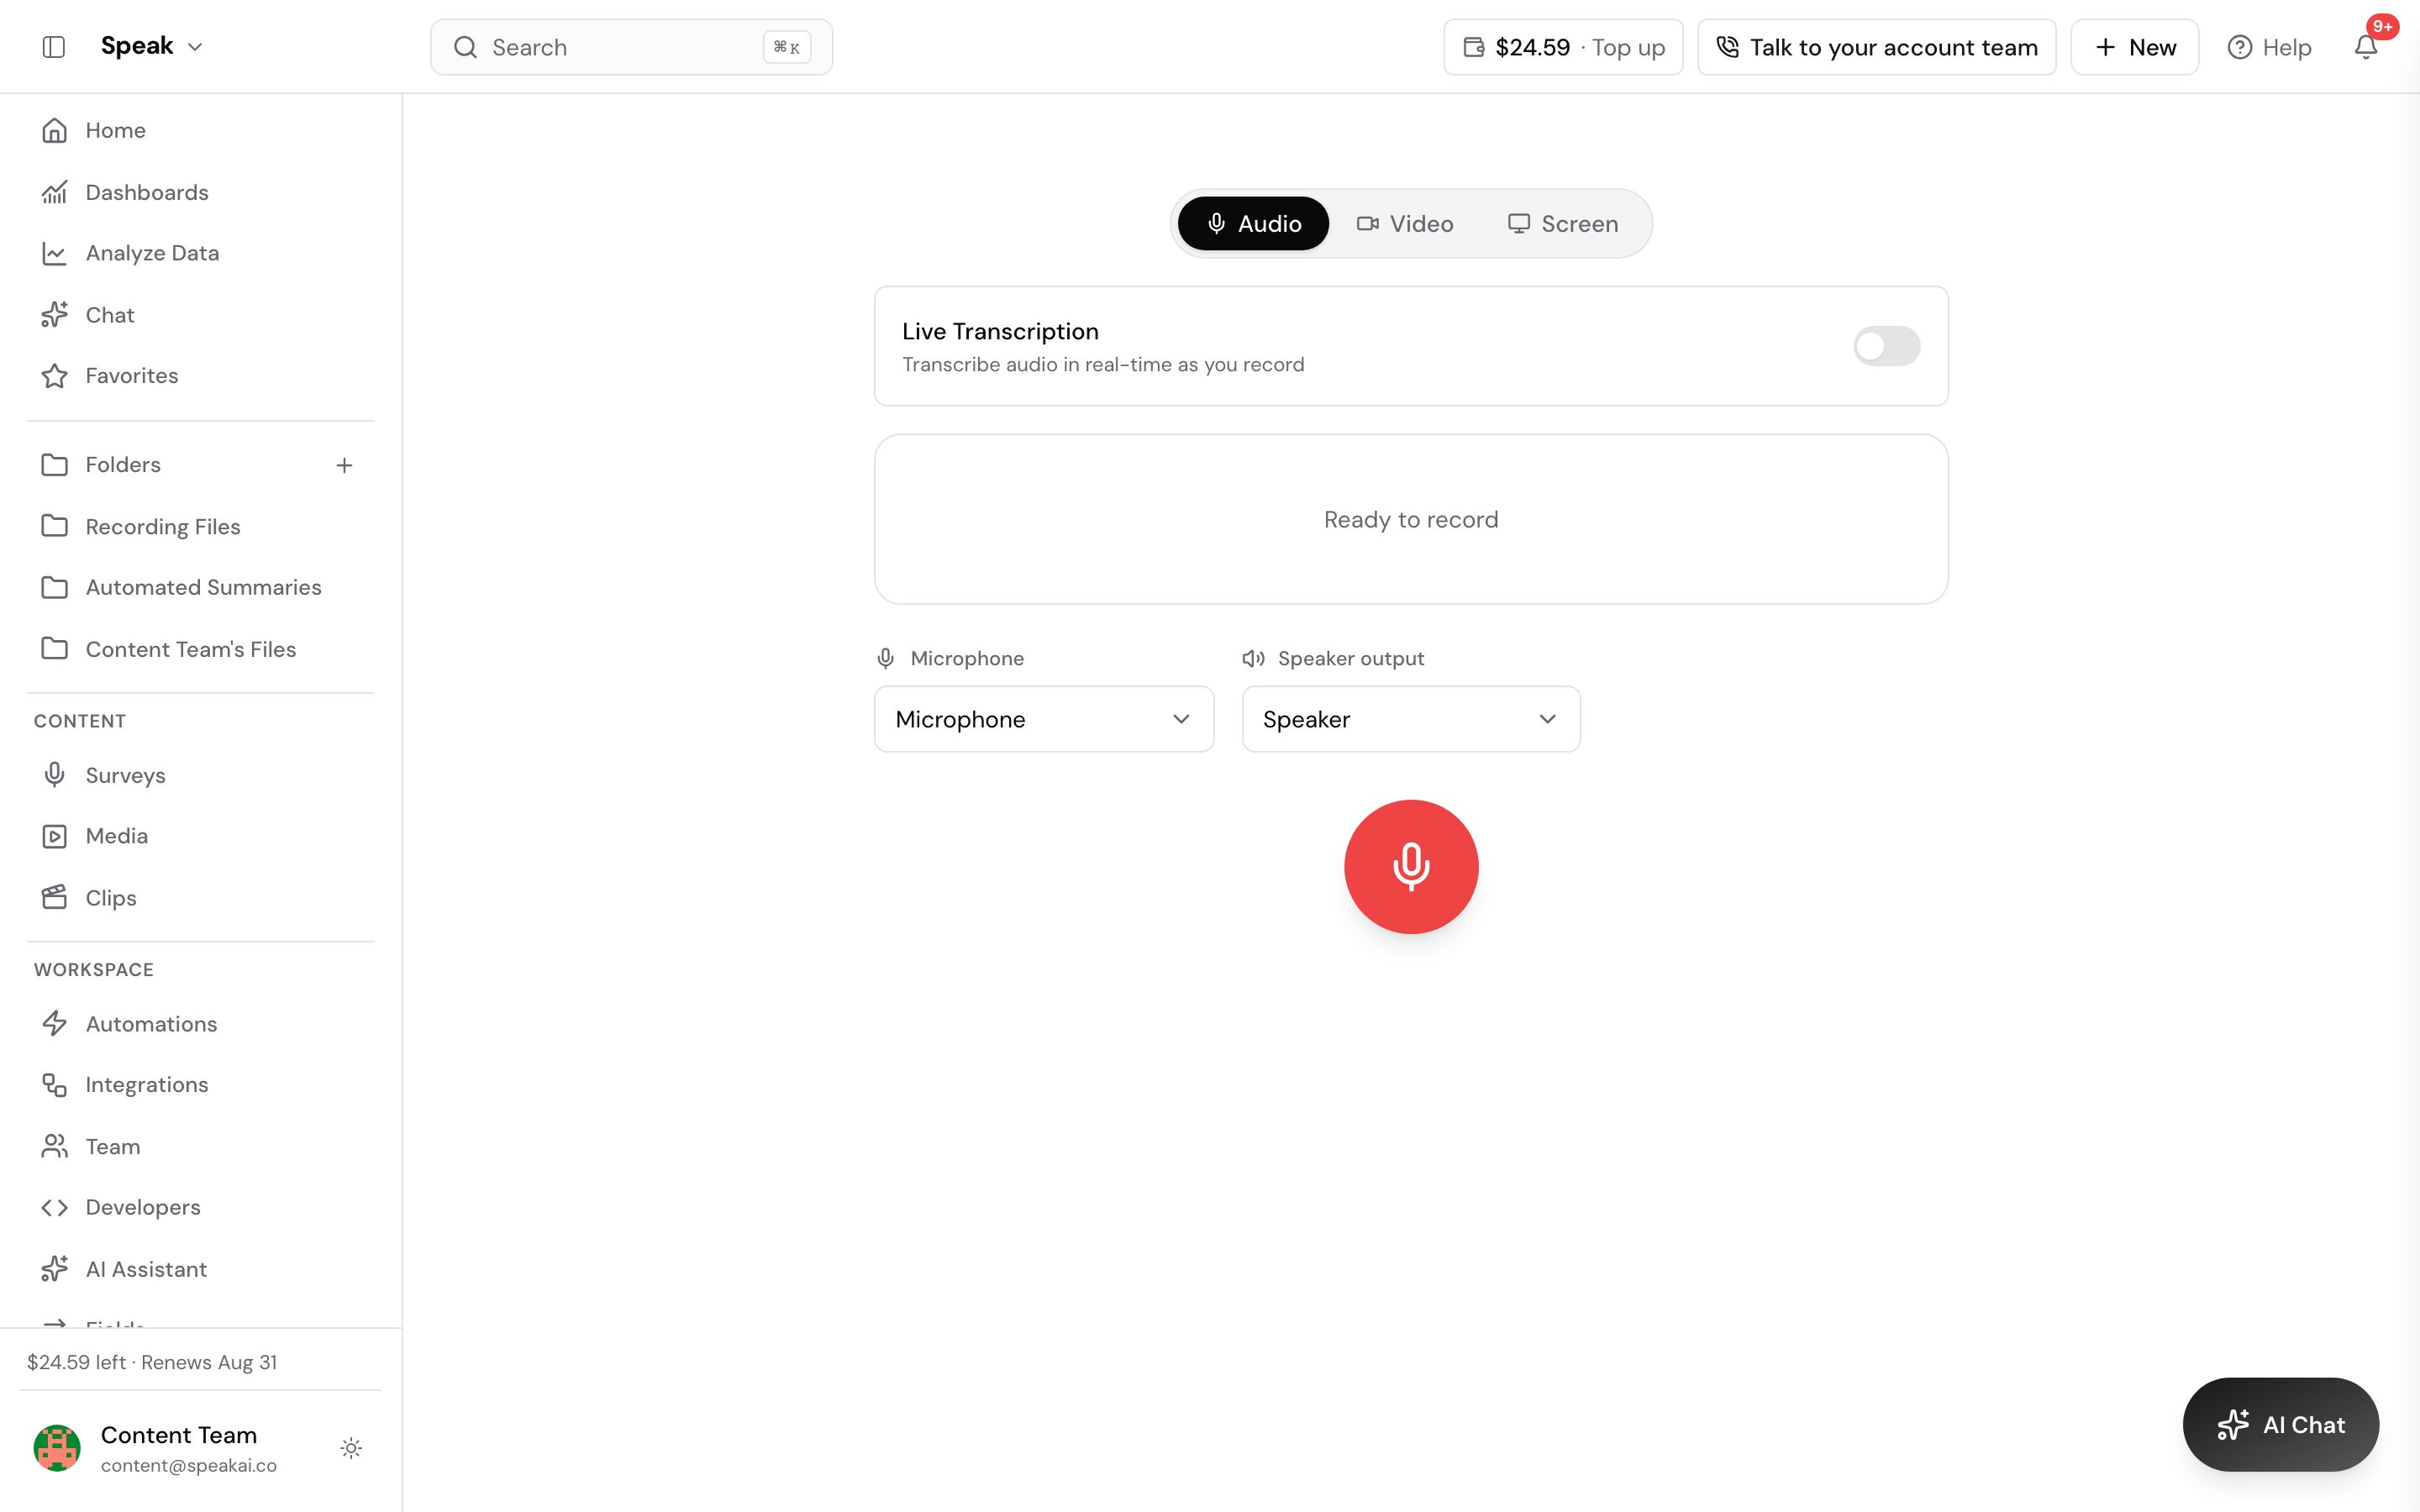
There are currently two ways you can access the audio recording from the homepage.
First, select the “Record” button and fill out the title and description, a pop-up will appear at the top of your web browser requesting access to first your webcam and then your microphone. For specific audio recordings, click the small “x” in the corner of the pop-up requesting webcam access.
Once you have allowed access to those you will see a player underneath the “Choose Format” options.
Simply hit record on the player and start talking, the duration of the recording will appear below the player. The recording can be stopped and started at any time.
The cost of the video will appear below the duration of the recording.
Overview
Recording in areas with unstable internet can be frustrating, leading to lost work. This guide provides essential tips to prevent data loss and ensure your recordings are saved, even when your connection is unreliable.
By following these best practices, you can have peace of mind knowing your valuable recording sessions are protected against connectivity issues.
How It Works
The recorder caches your data locally on your browser. This means that even if your internet connection drops temporarily, your progress is saved on your device. However, it’s crucial to allow the data to upload and confirm before closing your browser tab.
Getting Started
To access the recording features, go to Audio Recorder or Video Recorder in your dashboard.
Best Practices
- Check Local Status: If the upload bar appears to be stalled, please wait. The system is designed to automatically retry the upload.
- Do Not Close Tab: Closing the browser tab before the upload is fully confirmed will interrupt the retry process and may lead to data loss.
- Local Backup: If your situation allows, consider using a simultaneous local recording tool (such as QuickTime or Voice Memos on your device) as an extra layer of backup.
- Record in Shorter Segments: If you anticipate a poor connection, it’s advisable to record in shorter segments (5-10 minutes) rather than attempting one long recording.
Troubleshooting
“Upload Failed”: If you encounter an “Upload Failed” message, check if your browser’s “Local Storage” is full. Clearing some space may resolve the issue.
Next Steps
Ready to ensure your recordings are safe? Here’s what to do next:
- Login to your account and navigate to the Audio or Video Recorder.
- Review the best practices before starting your next recording session.
- Consider using the “Upload Existing” feature if your live stream fails. Save your file locally first, then upload it when you have a stable Wi-Fi connection.
Transcribe in-person meeting recordings
Record & Transcribe Meetings
Overview
Capture clear audio from your in-person meetings to get accurate transcriptions. This ensures you don’t miss any important details and can easily refer back to discussions.
The Speak AI Mobile App provides a smooth experience, allowing you to record, upload, and transcribe your meeting audio all in one go.
How It Works
The Speak AI Mobile App is designed to simplify the process of capturing and transcribing your meeting audio. It handles the recording and then uploads the audio for transcription, making it easy to review your meeting content later.
Getting Started
To get started, download and log in to the Speak AI mobile app on your smartphone.
To access this feature, go to the Speak AI Mobile App on your iOS or Android device.
Steps
- Open App: Log in to the Speak AI mobile app.
- Record: Tap the big red Microphone icon. Place the phone in the center of the table.
- Finish: Tap Stop. Name the file (e.g., “Board Meeting”).
- Analyze: Tap “Analyze” to start the upload/transcription process immediately, or “Save for Later” to upload when on Wi-Fi.
Pro Tips
- For large conference rooms, use an external Bluetooth microphone connected to your phone for clearer voice capture.
Troubleshooting
“Upload Pending”: Open the app while on Wi-Fi to force the sync if it didn’t finish.
Next Steps
Ready to get started? Here’s what to do next:
- Download the Speak AI Mobile App on your smartphone (iOS or Android).
- Log in to your account.
- Try recording your next meeting to experience the smooth transcription process.
Need help? Contact our support team or check out our other guides.
Need further assistance? Contact our support team or explore our other help articles.
Overview
Capture clear audio from your in-person meetings to get accurate transcriptions. This ensures you don’t miss any important details and can easily refer back to discussions.
The Speak AI Mobile App provides a smooth experience, allowing you to record, upload, and transcribe your meeting audio all in one go.
How It Works
The Speak AI Mobile App is designed to simplify the process of capturing and transcribing your meeting audio. It handles the recording and then uploads the audio for transcription, making it easy to review your meeting content later.
Getting Started
To get started, download and log in to the Speak AI mobile app on your smartphone.
To access this feature, go to the Speak AI Mobile App on your iOS or Android device.
Steps
- Open App: Log in to the Speak AI mobile app.
- Record: Tap the big red Microphone icon. Place the phone in the center of the table.
- Finish: Tap Stop. Name the file (e.g., “Board Meeting”).
- Analyze: Tap “Analyze” to start the upload/transcription process immediately, or “Save for Later” to upload when on Wi-Fi.
Pro Tips
- For large conference rooms, use an external Bluetooth microphone connected to your phone for clearer voice capture.
Troubleshooting
“Upload Pending”: Open the app while on Wi-Fi to force the sync if it didn’t finish.
Next Steps
Ready to get started? Here’s what to do next:
- Download the Speak AI Mobile App on your smartphone (iOS or Android).
- Log in to your account.
- Try recording your next meeting to experience the smooth transcription process.
Need help? Contact our support team or check out our other guides.
Want a hand setting this up? Book a free consult and we’ll do it together on your account.
Related: Uploads · CSV import