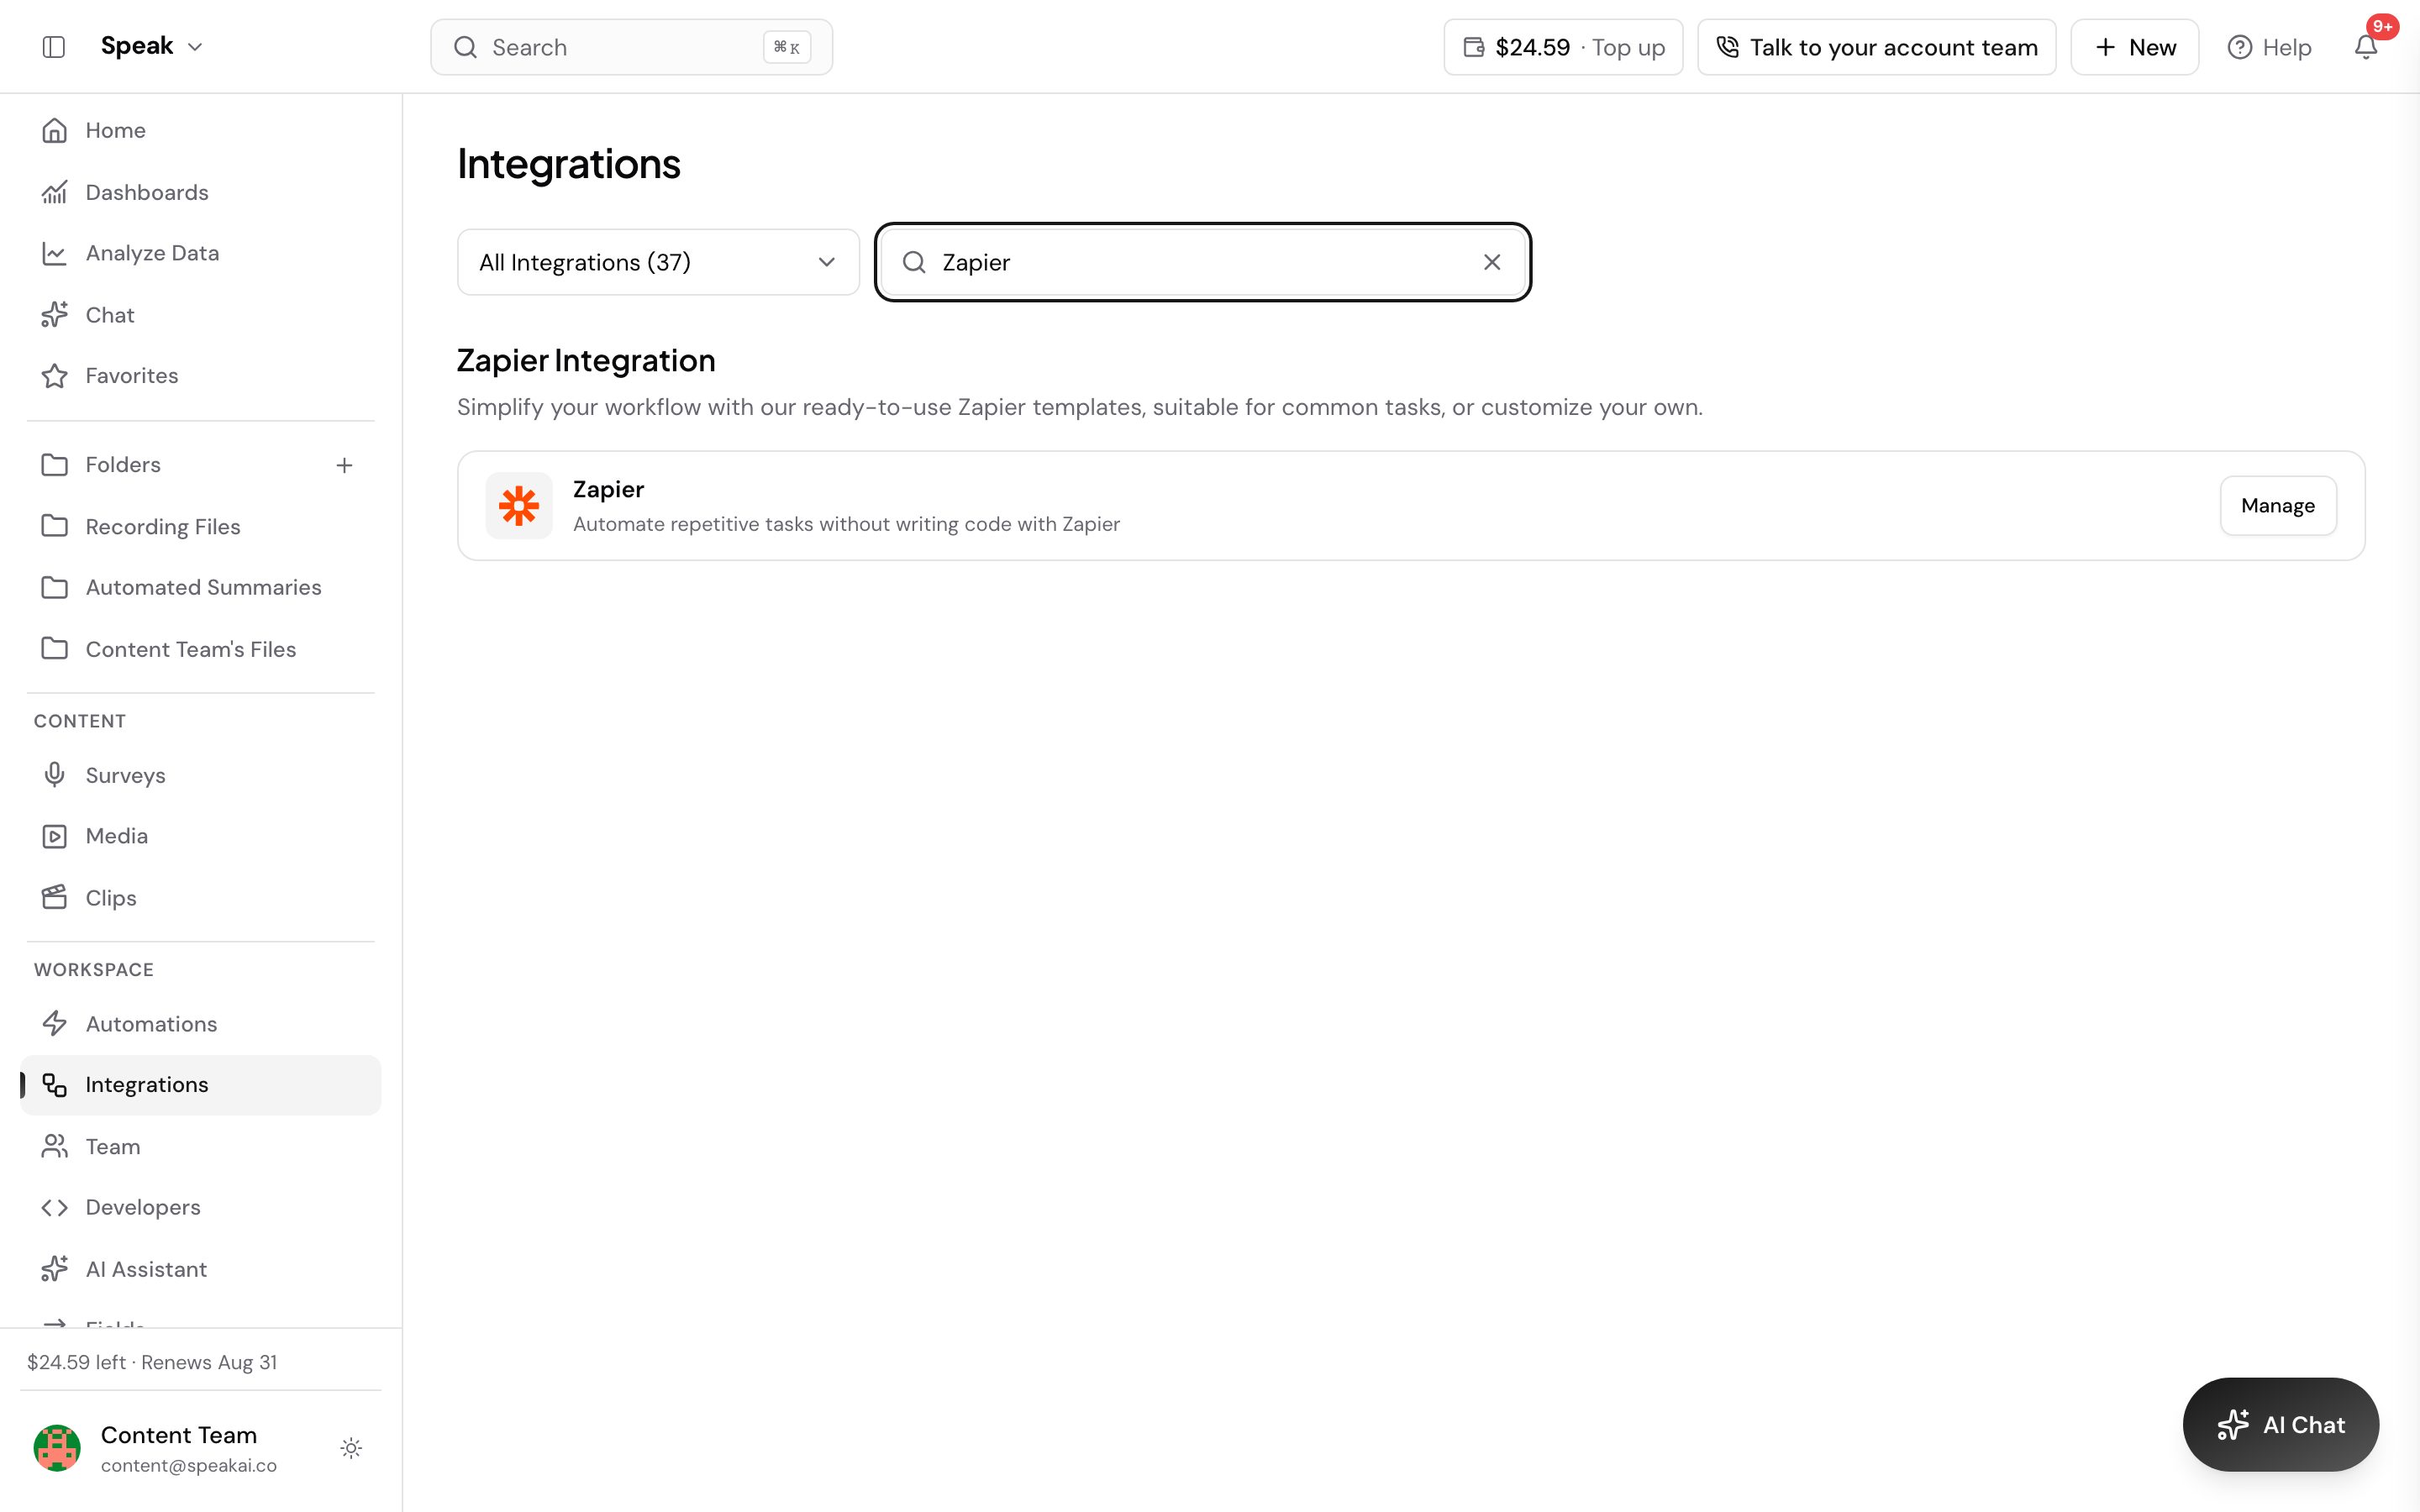
Overview
Zapier connects Speak AI with 5,000+ apps. When something happens in Speak (like a transcription completing), Zapier can automatically send the results to Google Sheets, Slack, Airtable, your CRM, or any other connected tool.
Available triggers
Speak AI offers two Zapier triggers. Choosing the right one is important:
New media processed (basic)
Fires when a new media file finishes transcription. Returns the transcript text, media ID, and basic metadata. Use this when you just need the raw transcript.
New AI Chat response (recommended)
Fires when an AI Chat prompt completes on a file. Returns the prompt response, structured data, and all extracted fields. Use this for most workflows because it includes both the transcript and the AI analysis results.
If you need structured data (like contact names, action items, or custom fields), always use the AI Chat response trigger paired with an automation in Speak AI.
Setting up a Zap
- Go to Zapier and click Create Zap
- Search for Speak AI as your trigger app
- Choose your trigger (New Media Processed or New AI Chat Response)
- Connect your Speak AI account using your API key
- Choose your action app (Google Sheets, Slack, Airtable, etc.)
- Map the fields from Speak AI to your destination
- Test and turn on your Zap
Common workflows
- Meeting notes to Slack: AI Chat trigger -> Send to Slack channel
- Transcripts to Google Sheets: Media processed trigger -> Create row in Sheets
- Customer feedback to CRM: AI Chat trigger (with fields) -> Create/update CRM record
- Zoom recordings to Speak: Zoom trigger -> Upload to Speak AI
Tips
- Pair with automations: Set up an automation in Speak AI first (to run an AI Chat prompt on each new file), then use the AI Chat response trigger in Zapier to get the structured output.
- Test with a real file: Zapier needs a sample to map fields. Upload a test file to Speak AI before setting up the Zap.
- Check your API key: If a Zap stops working, verify your API key has not been regenerated.
For more integrations, see our integrations overview.
A step-by-step guide to connect Google Drive <> Speak AI integration via Zapier.
4. Let’s connect Speak AI action:
- File/URL - Please select file from the dropdown menu
- Video or Audio - Based on the file format
5. Create a test and review the object as shown below
6. You will see the success response from the API response.
If you see any errors - one of the configurations is missing and send us a message via Live chat.
Zoom to Speak AI via Zapier
Save time and gain immediate insights from your meeting content without manual uploads. Speak AI will transcribe and analyze your recordings, making them searchable and actionable.
How It Works
This integration uses Zapier to connect Zoom and Speak AI. When a new audio recording is completed in Zoom, Zapier automatically triggers an action to upload that recording to Speak AI.
Getting Started
To set up this integration, you’ll need accounts for Zapier, Speak AI, and Zoom. Ensure your Zoom account has cloud recording enabled.
Follow these steps to create the automated workflow:
- Create a Zap: In Zapier, select Zoom as the Trigger App and choose either New Audio Recording or New Recording as the trigger event.
- Connect Account: Authenticate your Zoom account within Zapier.
- Add Action: Select Speak AI as the Action App.
- Choose Event: Select Upload Media as the action event.
- Map Fields:
- Name: Map this to your Zoom Topic or Start Time.
- Media URL: Map this to the
download_urlprovided by Zoom. - Folder: (Optional) Choose a specific destination folder within Speak AI.
- Test & Publish: Run a test to confirm the file uploads correctly to Speak AI, then turn on your Zap.
Configuration
When mapping fields in Zapier, consider the following:
| Speak AI Field | Zoom Field Mapping | Notes |
|---|---|---|
| Name | Zoom Topic or Start Time | Helps identify your recordings in Speak AI. |
| Media URL | download_url |
This is the direct link to your Zoom cloud recording. |
| Folder | (Optional) | Organize your recordings into specific folders within Speak AI. |
Troubleshooting
If your files are not uploading, check the following:
- Ensure that password protection is disabled for your Zoom sharing links.
- Verify that the link provided to Zapier is publicly accessible.
Next Steps
Ready to automate your Zoom recordings? Here’s what to do next:
- Login to your Zapier account and create a new Zap.
- Connect your Zoom and Speak AI accounts following the steps above.
- Test your Zap to ensure smooth uploads.
Upload files from Google Drive using Zapier integration
A step-by-step guide to connect Google Drive <> Speak AI integration via Zapier.
1. Select Google drive as a Trigger
2. Select the folder from where you would like to trigger the action
3. You will see the sample response and ensure it contains the “File” in your response.
4. Let’s connect Speak AI action:
- File/URL - Please select file from the dropdown menu
- Video or Audio - Based on the file format
5. Create a test and review the object as shown below
6. You will see the success response from the API response.
If you see any errors - one of the configurations is missing and send us a message via Live chat.
7. Review your file on Speak AI
Upload Zoom recordings via Zapier
Zoom to Speak AI via Zapier
Overview
Effortlessly integrate your Zoom meetings with Speak AI to automate your transcription and analysis workflow. This connection ensures that as soon as your Zoom cloud recordings are ready, they are automatically sent to Speak AI for processing.
Save time and gain immediate insights from your meeting content without manual uploads. Speak AI will transcribe and analyze your recordings, making them searchable and actionable.
How It Works
This integration uses Zapier to connect Zoom and Speak AI. When a new audio recording is completed in Zoom, Zapier automatically triggers an action to upload that recording to Speak AI.
Getting Started
To set up this integration, you’ll need accounts for Zapier, Speak AI, and Zoom. Ensure your Zoom account has cloud recording enabled.
Follow these steps to create the automated workflow:
- Create a Zap: In Zapier, select Zoom as the Trigger App and choose either New Audio Recording or New Recording as the trigger event.
- Connect Account: Authenticate your Zoom account within Zapier.
- Add Action: Select Speak AI as the Action App.
- Choose Event: Select Upload Media as the action event.
- Map Fields:
- Name: Map this to your Zoom Topic or Start Time.
- Media URL: Map this to the
download_urlprovided by Zoom. - Folder: (Optional) Choose a specific destination folder within Speak AI.
- Test & Publish: Run a test to confirm the file uploads correctly to Speak AI, then turn on your Zap.
Configuration
When mapping fields in Zapier, consider the following:
| Speak AI Field | Zoom Field Mapping | Notes |
|---|---|---|
| Name | Zoom Topic or Start Time | Helps identify your recordings in Speak AI. |
| Media URL | download_url |
This is the direct link to your Zoom cloud recording. |
| Folder | (Optional) | Organize your recordings into specific folders within Speak AI. |
Troubleshooting
If your files are not uploading, check the following:
- Ensure that password protection is disabled for your Zoom sharing links.
- Verify that the link provided to Zapier is publicly accessible.
Next Steps
Ready to automate your Zoom recordings? Here’s what to do next:
- Login to your Zapier account and create a new Zap.
- Connect your Zoom and Speak AI accounts following the steps above.
- Test your Zap to ensure smooth uploads.
Zapier Integration
What is Zapier?
Zapier is an online automation tool that connects your favourite apps, such as Gmail, Slack, Mailchimp, and more. You can connect two or more apps to automate repetitive tasks without coding or relying on developers to build the integration. It’s easy enough that anyone can build their own app workflows with just a few clicks.
For example, maybe you get many email attachments in your Gmail account, and you want to save them to Dropbox. Every time you get an attachment, you could open up the email, click the attachment, and save it to Dropbox. Or you can have Zapier automate this for you, saving you time and effort.
You can use Speak AI within your workflow by using our Zapier integrations:
We continue adding supported apps, so be sure to stay up to date with any new integrations.
Need help? Contact our support team or explore our other integration guides.
Overview
Effortlessly send audio files from your favorite tools, like Slack, directly to Speak AI. This automation saves you time and ensures your audio content is processed without manual intervention.
By connecting your tools, you can streamline your workflow and focus on analyzing your audio, rather than managing file transfers.
How It Works
You can automate the flow of audio files from Slack or other sources to Speak AI using Zapier. This involves setting up a “Zap” that connects your source application to Speak AI.
Getting Started
To access this feature, go to Settings → Integrations in your dashboard.
Configuration
Here’s how to set up the automation:
Slack to Speak AI Workflow
- Trigger: Select Slack and choose the “New File Shared” or “New Saved File” trigger.
- Action: Select Speak AI and choose the “Upload Media” action.
-
- Map the File URL (Download URL) from Slack to the File URL field in Speak AI.
- Note: Ensure the file is public or Zapier has permission to access the download link. Private Slack file links might require additional authentication steps.
Alternative: Google Drive Middleware
To avoid potential authentication issues with direct file links, you can use Google Drive as an intermediary:
- Set up a Zap to upload files from Slack to Google Drive.
- Set up another Zap where the trigger is a “New File” in Google Drive, and the action is “Upload Media” to Speak AI.
This method is often more reliable for managing file permissions.
Next Steps
Ready to get started? Here’s what to do next:
- Login to your account and navigate to Settings → Integrations.
- Set up a Zap to connect Slack (or your preferred source) to Speak AI.
- Test your workflow with a sample audio file.
Need help? Contact our support team or check out our other guides.
Overview
Save time and streamline your workflow by automatically sending your Speak AI transcripts to your favorite document platforms. This integration ensures your meeting notes, interviews, or any analyzed media are instantly available where you need them, without manual copy-pasting.
Focus on what matters most, knowing that your transcripts are being organized and stored efficiently in platforms like Google Docs or Word.
How It Works
This feature uses Zapier, a powerful automation tool, to connect Speak AI with your chosen document application. When Speak AI finishes processing a file, Zapier automatically triggers an action to create a new document containing the transcript.
Getting Started
To set up this automation, you’ll need a Zapier account and a Speak AI account. Follow the steps below to create your Zap.
Workflow Steps
Here’s how to set up the Zapier integration:
- Trigger in Zapier: Select Speak AI as the app and choose the New Media Processed (or Transcript Ready) event.
- Action in Zapier: Select your desired document app, such as Google Docs, and choose the Create Document from Text action.
- Map Fields:
- For the Document Content, select the Transcript field from the Speak AI trigger data.
- You can also map Speaker Names and Timestamps if they are available in the text format.
- Test & Activate: Run a test to confirm the document is created correctly with the transcript content. Once verified, turn on the Zap.
This workflow will run automatically for every new file you analyze with Speak AI.
Next Steps
Ready to automate your transcript delivery? Here’s what to do next:
- Login to your Zapier account and create a new Zap.
- Connect Speak AI and your chosen document app by following the steps above.
- Test your Zap to ensure it’s working as expected.
Need help? Contact our support team or check out our other guides.
Overview
Connect your Speak AI audio recordings directly to Airtable to organize and analyze your data in a structured way. This integration allows you to automatically populate your Airtable bases with valuable information from your audio submissions, saving you time and effort.
By using Zapier, you can ensure that every new recording captured through your embedded Speak AI recorder is smoothly transferred to your Airtable, making it easier to manage, track, and gain insights from your audio content.
How It Works
Speak AI integrates with Airtable through Zapier, a powerful automation tool. When a new audio recording is submitted via your embedded recorder, Zapier detects this event and triggers an action to create a new record in your specified Airtable base. You can map key details from the recording, such as the media URL, transcript, and insights, to your Airtable columns.
Getting Started
To send recordings from your embedded audio recorder to Airtable, you’ll need to set up an integration using Zapier. This process involves creating your recorder in Speak AI and then configuring a Zap in Zapier to connect Speak AI to Airtable.
To access your Speak AI recorders, go to Recorder in the sidebar.
Prerequisites
- A Speak AI account
- An Airtable account
- A Zapier account
Step 1: Create Your Recorder
- Go to Recorder in the sidebar.
- Click New Recorder or edit an existing one.
- Customize your settings and questions as needed.
- Save and copy the Embed Code or Shareable Link.
Step 2: Set Up Zapier
- Log in to Zapier and click Create Zap.
- Trigger: Select the Speak AI app and choose the New Media trigger.
- Connect your Speak AI account using your API Key.
- Action: Select the Airtable app and choose Create Record.
- Map the fields from Speak AI (e.g., Media URL, Transcript, Insight, Name) to your Airtable columns.
- Test the Zap and turn it on.
Now, whenever someone submits a recording via your embedded recorder, the data will automatically appear in your Airtable base.
Next Steps
Ready to organize your audio recordings in Airtable? Here’s what to do next:
- Login to your accounts (Speak AI, Airtable, and Zapier) and follow the steps above.
- Create a new recorder in Speak AI or select an existing one to embed.
- Set up your Zap in Zapier to connect Speak AI to your Airtable base.
- Test your integration to ensure recordings are flowing correctly.
Need help? Contact our support team or check out our other guides.
What is Zapier?
Zapier is an online automation tool that connects your favourite apps, such as Gmail, Slack, Mailchimp, and more. You can connect two or more apps to automate repetitive tasks without coding or relying on developers to build the integration. It’s easy enough that anyone can build their own app workflows with just a few clicks.
For example, maybe you get many email attachments in your Gmail account, and you want to save them to Dropbox. Every time you get an attachment, you could open up the email, click the attachment, and save it to Dropbox. Or you can have Zapier automate this for you, saving you time and effort.
You can use Speak AI within your workflow by using our Zapier integrations:
We continue adding supported apps, so be sure to stay up to date with any new integrations.
Want a hand setting this up? Book a free consult and we’ll do it together on your account.
Related: Integrations · Chrome extension