---
title: "Embeddable recorder"
description: "Collect audio and video from anyone through your website or a share link. Submissions upload and transcribe automatically."
---
> Documentation Index
> Fetch the complete documentation index at: https://docs.speakai.co/llms.txt
> Use this file to discover all available pages before exploring further.
# Embeddable recorder
The embeddable recorder collects audio and video from other people: customers, research participants, applicants. Put it on your site or share a link, ask questions alongside the recording, and every submission lands in your library transcribed and analyzed.
- **[Browser support](/help/recorder/browser-support/)**
- **[Custom CSS](/help/recorder/custom-css/)**
- **[Custom domains](/help/recorder/custom-domain/)**
- **[Downloads](/help/recorder/downloads/)**
- **[Embedding](/help/recorder/embedding/)**
- **[Field mapping](/help/recorder/field-mapping/)**
- **[Limits](/help/recorder/limits/)**
- **[Microphone and camera permissions](/help/recorder/permissions/)**
- **[Pairing codes](/help/recorder/pairing-codes/)**
- **[Questions](/help/recorder/questions/)**
## Create and use embeddable recorders
## What is the embeddable recorder?
The embeddable recorder lets you collect audio and video recordings from anyone, directly on your website or through a shareable link. Recordings are automatically uploaded to your Speak AI library, transcribed, and analyzed.
This is ideal for:
- **Research interviews:** Let participants record responses at their own pace
- **Customer feedback:** Collect voice-of-customer insights
- **Surveys:** Add voice responses to your forms
- **Testimonials:** Gather video testimonials from customers
- **Education:** Collect student presentations or language assessments
## Creating a recorder
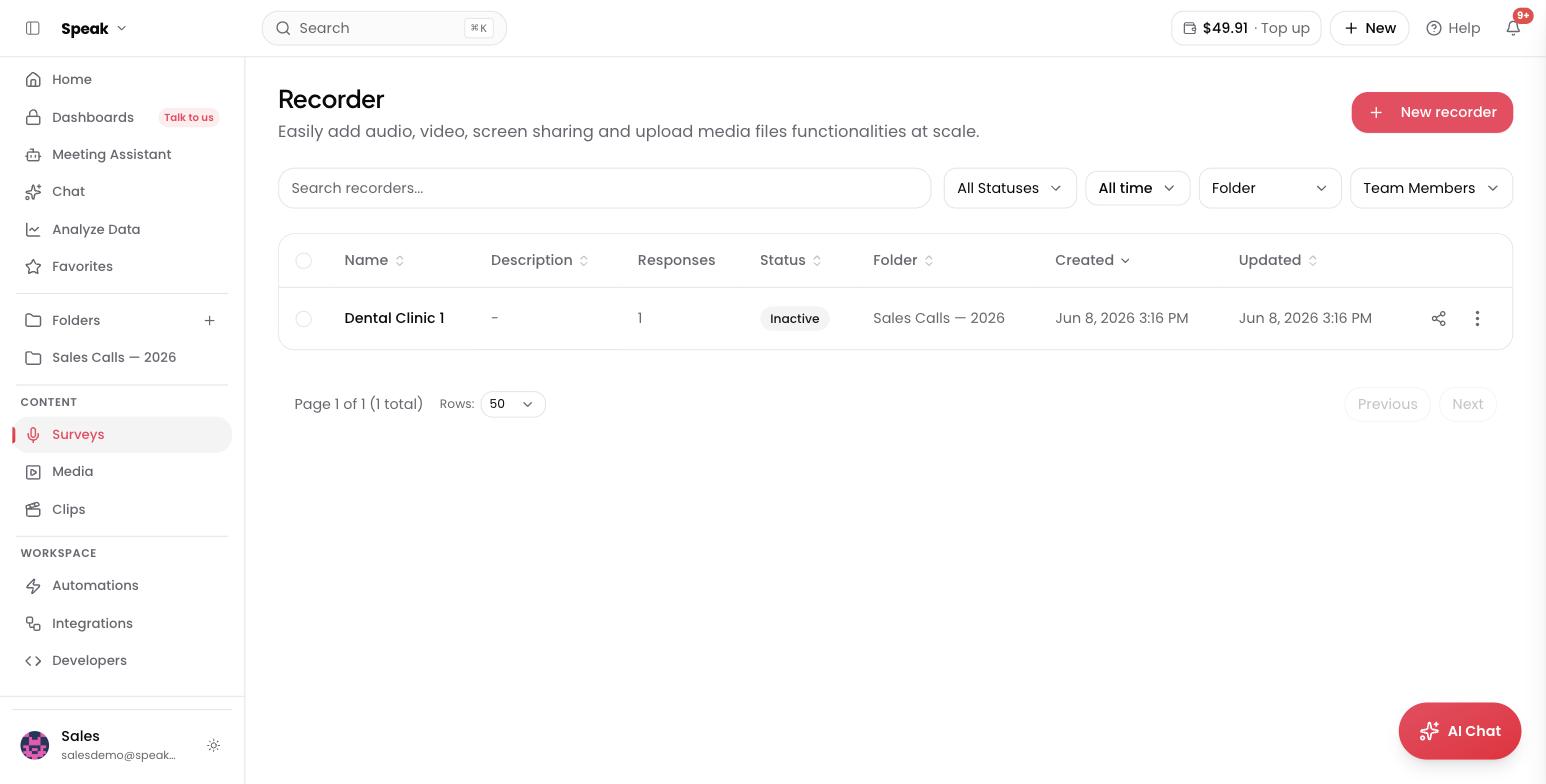
1. Go to [Recorder](https://app.speakai.co/recorder) in the sidebar
1. Click **New Recorder**
1. Configure your settings:
* Recorder name and description
* Audio only or audio + video
* Custom questions and form fields
* Password protection (optional)
* Destination folder
1. Save your recorder
## Sharing your recorder
You have two options:
- **Shareable link:** Copy the direct URL and share it with anyone. They can record directly in their browser.
- **Embed code:** Copy the iframe code and paste it into your website, landing page, or app. The recorder appears inline on your page.
## What happens when someone records
1. The user opens your recorder link or visits your embedded page
1. They fill out any form fields you configured
1. They record their audio or video
1. The recording is automatically uploaded to your Speak AI library
1. Speak transcribes and analyzes the recording
1. You receive a notification when it's ready
## Viewing submissions
Recordings appear in the folder you specified during setup. Each submission includes the recording, transcript, insights, and any form field responses.
## Integration with webhooks and Zapier
You can trigger webhooks when a new recording is submitted, allowing you to:
- Send data to Airtable, Google Sheets, or your CRM
- Notify your team on Slack
- Trigger follow-up emails
For browser compatibility details, check our [browser support article](/help/recorder/browser-support/).
## Create A Recorder
In order to create a new shareable recorder, there are two options for navigating to the relevant page to get started.
Option 1: Click on the "New recorder" button under the Quick Actions section of the Dashboard.
Option 2: On the left-hand side bar, **click on the "Recorder"** section under the "Share Embed" subheading. Then click on the "+ New recorder" button in the top right-hand corner.
## Step 1: Let's get Started
On the "Let's get started" section of the new recorder, you have various customizable options. These include:
- Adding a new name for the recorder
- Adding a new description for the recorder
- Selection of Recorder Options to to permit whether you want to collect audio recordings, video recording, local files or multiple uploads.
- Selection of language to transcribe the submitted recordings**.**
- A drop-down list to choose which folder you would like to assign the contents of your recorder too
- A drop-down list to assign the recorder to a specific team member
- Moreover, customize the minimum and maximum length of the recordings as per requirements.
- A checkbox allowing Speak to automatically transcribe and analyze your submissions when you receive them
- A checkbox to notify you when you've received a new recording
Configure your recorder to your liking and press the "Save" button on the top to proceed.
## Step 2: Information To Collect
On the "Information to collect" page, you have the option to add questions that will be prompted for whoever interacts with your recorder. "Name" and "Email" are default prompts that can be deselected by clicking on the checkboxes to the left of the question. You can add an all new question by pressing the "+ Add question" button. If you decide you no longer want to include your questions, click the "X" button to the right of the relevant text box.
A modal of "Add Question" will pop up, where you can define the question and desired type of answer. Once you click on "Add" button, the question will be added below and you can edit or delete it anytime.
*Add Question Modal*
You can add multiple questions in the same way by clicking on "Add Question" button.
When you are ready to proceed, click on the "Next" button on the right.
## Step 3: Customize Branding
On the "Customize Branding" page, you are given options to change the Logo and Brand Color that will appear on your recorder.
When you are ready to proceed, click on the "Next" button on the right.
## Step 4: Share Recorder
On the final "Share" page, you are given two options for sharing your recorder with the world. The first is a link that will direct anyone it is shared with to your recorder. The second is an iframe that can be placed on your personal webpage, and applicants can apply their recordings directly from your page.
Once you have copied and shared your provided links, you can either click the "Finish" button to save your recorder or the "Create a new recorder" button to save and start the process all over again.
Collecting recordings at scale for research or hiring? [Book a demo](https://calendly.com/speak-ai/demo?utm_source=docs&utm_campaign=book-demo) and we'll build a recorder for your use case.
Source: https://docs.speakai.co/help/recorder/index.mdx